LinkedIn is a professional social platform that can bring us lots of business chances. Our LinkedIn Auto Connect Tool can help you manage bulk LinkedIn accounts, auto connect to bulk LinkedIn users, etc.
MAIN FEATURES OF LINKEDIN AUTO CONNECT TOOL
- Check bulk LinkedIn accounts automatically
- Auto scrape users/ posts
- Auto add connection on LinkedIn
- Comment on LinkedIn posts automatically
- Support https proxy
- Frequent update
- There are tutorials in text and video
- Save time and cost
HOW TO USE LINKEDIN AUTO CONNECT TOOL
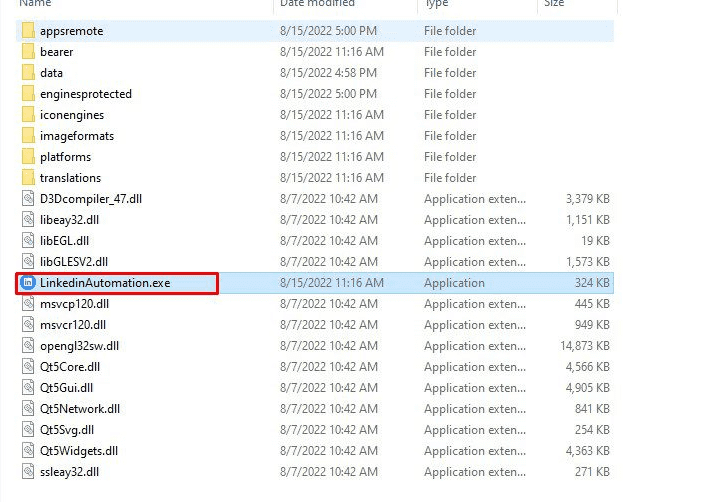
When you make payment for LinkedInAutomation Bot, we will send you 2 links, including a software link and an useragent file link. You need to download both files, unzip the LinkedInAutomation.rar => double click on the LinkedInAutomation.exe to install the bot.
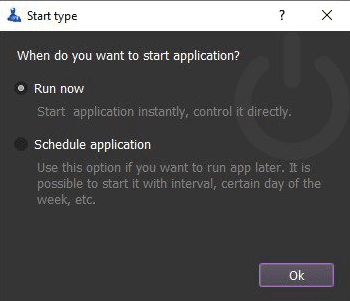
You choose one of two ways:
- Run now: Run the software instantly
- Schedule: Schedule the application to run at a specific time
>>Learn more: How to use Schedule Function.
Then, you will see the interface of LinkedInAutomation software
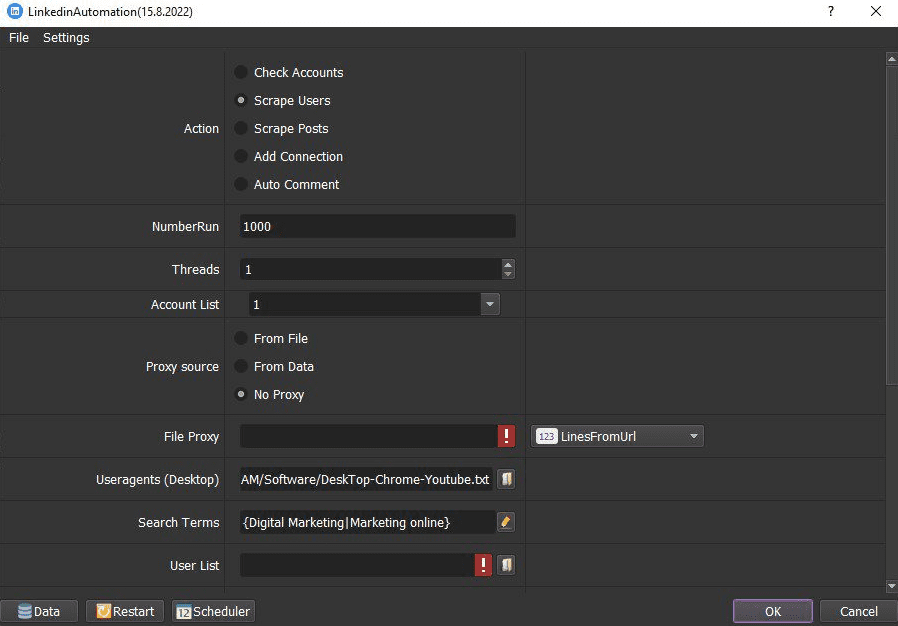
A. BASIC SETTING – LINKEDIN AUTO CONNECT TOOL
These are sections you need to set up before running any function of LinkedInAutomation Tool.
A1. NumberRun
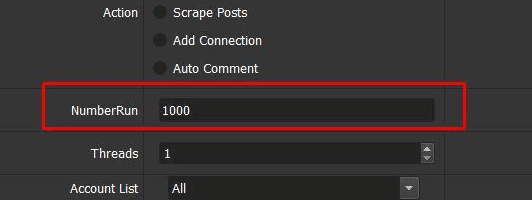
NumberRun section saves the number of times that you want the LinkedInAutomation Bot to run successfully. In case you set this section as the default “99999999”, the bot will run continuously until you stop it.
For example, if you put 1000 in this section, the software will stop automatically after running 1000 times successfully.
A2. Threads
This is the number of tabs that will be opened at the same time. The LinkedIn Auto Connect Tool can run multiple tab with different IPs simultaneously.
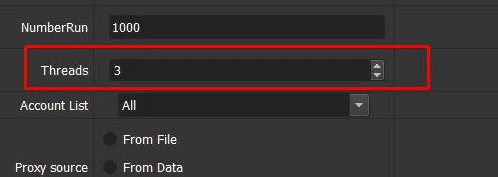
You need to put the number of threads that match your computer configuration. The stronger your computer configuration is, the more threads the software can run simultaneously.
A3. Account List
You need to import LinkedIn accounts before running any function.
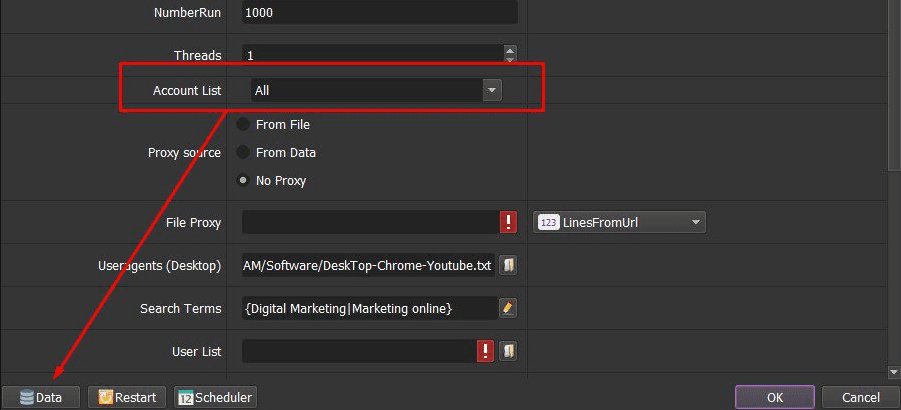
Refer to HOW TO IMPORT ACCOUNTS to learn how to import LinkedIn accounts
Note: You import data per line in format: Gmail,Password,Proxy (if any),Port (if any),Proxy User (if any),Proxy Pass (if any). You can refer to Template. You need to import the proxy in this section if you select From Data at Proxy Source section, otherwise, you can leave the proxy information blank.
A4. Proxy Source
The software will login many LinkedIn accounts simultaneously, so you need to use proxy to avoid being locked out of accounts by LinkedIn.
You can rent safe and cheap proxy from this website https://saferproxy.com/
You can select one of 3 options at Proxy Source section
A4.1. From File
In case you select From File at Proxy source section, you need to set up the File Proxy section, too.
There are 2 options at File Proxy section for you to choose
- If you select LinesFromFile, you need to create a text file to save the proxy in format: IP:Port:Proxy username (if any):Proxy Password (if any). Proxies need to be entered per line. Next, at File Proxy section, you click on
 => select the proxy file which had been created.

- If you select Lines From Url, you paste the proxy address link into File Proxy section as shown.

A4.2. From Data
If you select From Data at Proxy Source, the software will use proxies that were imported with LinkedIn accounts. You can refer to section A3. Accounts List to learn how to import proxy with LinkedIn accounts.

A4.3 Do not use proxy
In case you do not have proxy to use, you can select No at Proxy Source. The software will use the IP of your PC to run. However, if you login too many LinkedIn accounts on the same IP, your LinkedIn accounts can be banned.

A5. Useragent (Desktop)
After you make payment for the LinkedIn Auto Connect Tool, we provide you with a link of useragent file. You need to download the useragent file => click on  at Useragent (Desktop) section => select the downloaded useragent file.

A6. Folder Cookies & Folder Data
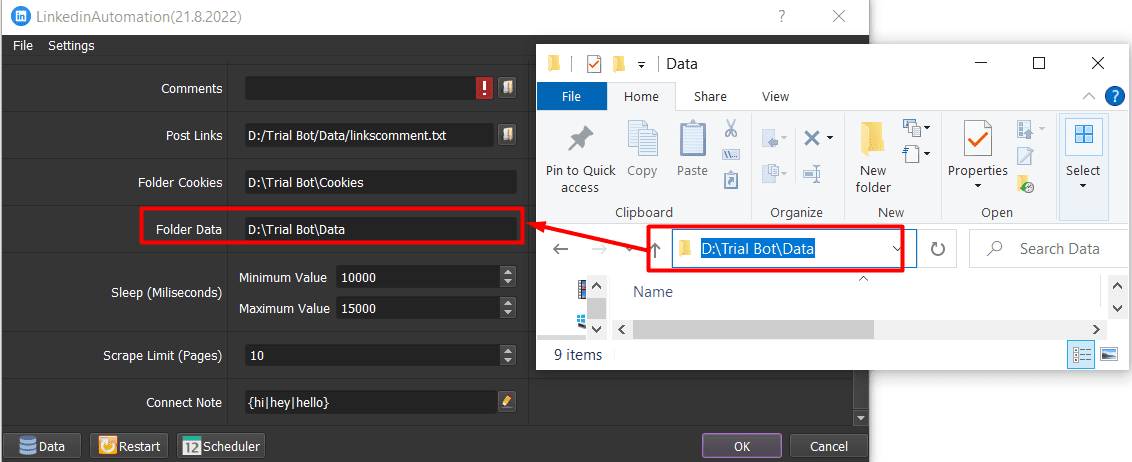
Folder Cookies is used to save Cookies and Profile of LinkedIn accounts during the running. Therefore, the LinkedIn Automation Bot does not need to login these LinkedIn accounts in the next run. You create a new Cookies folder => copy and paste the path of this created folder into Folder Cookies section.
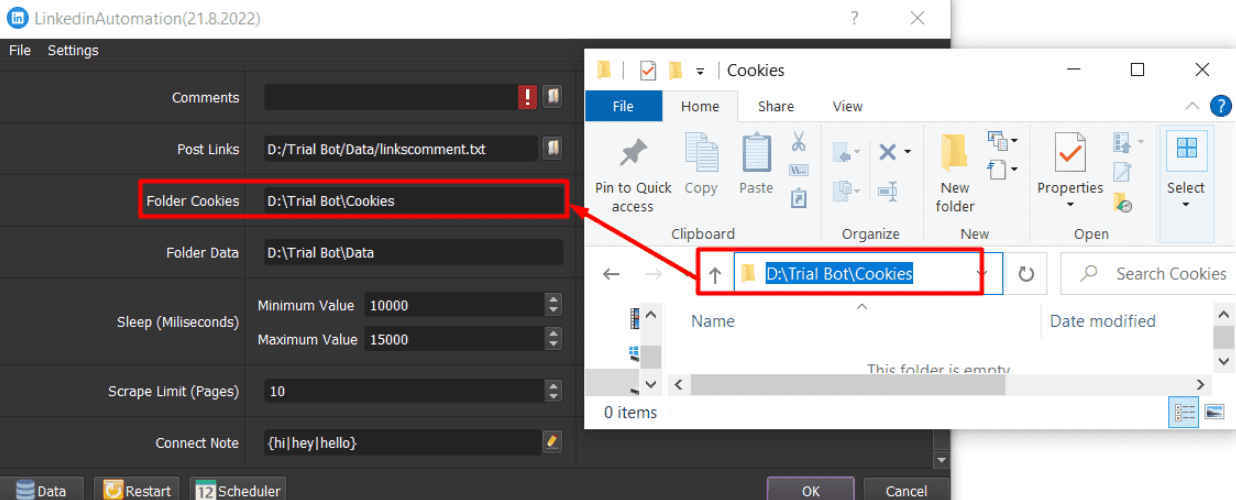
Folder Data saves the result of running such as scraped users, scraped posts, etc. You create a new Data folder => copy and paste the path of this created folder into Data Cookies section.
A7. Sleep
Sleep section saves the range of time that you want the software to rest between 2 actions.

B. HOW TO RUN EACH FUNCTION?
Before running any functions, the software will log in LinkedIn accounts. After setting up all sections in basic setting, you select any function at Action section to run (refer to following sections in part B) => click OK. Then, you click on Show Browser to see how the software log in LinkedIn accounts.
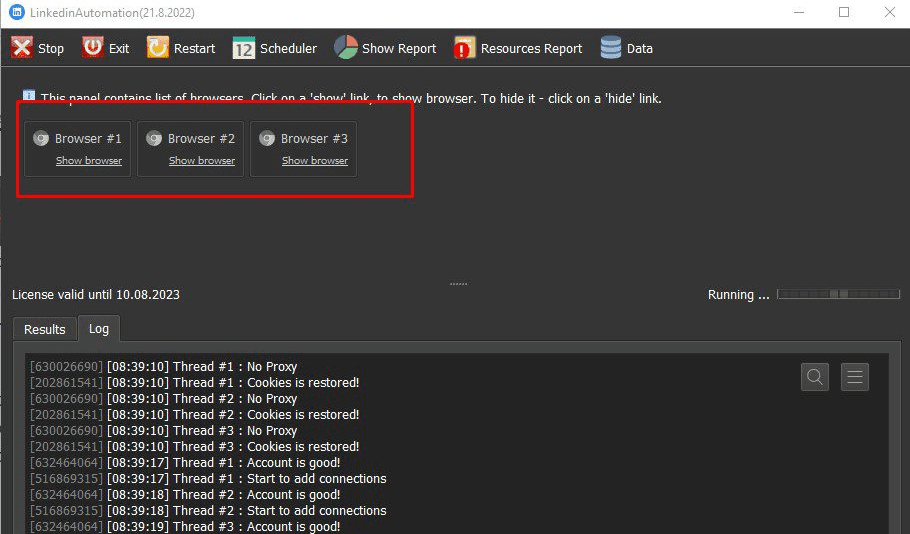
There are 2 cases when the software log in LinkedIn accounts
- In case the software login accounts successfully, you let the software run.
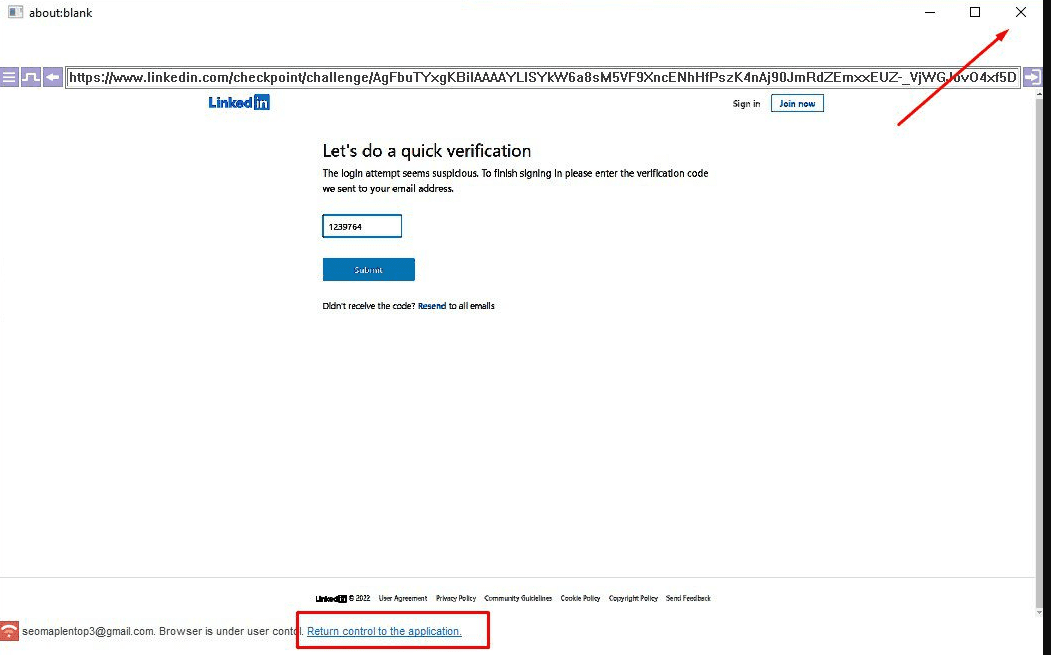
- In case the LinkedIn ask for code (Check point accounts) as the following photo
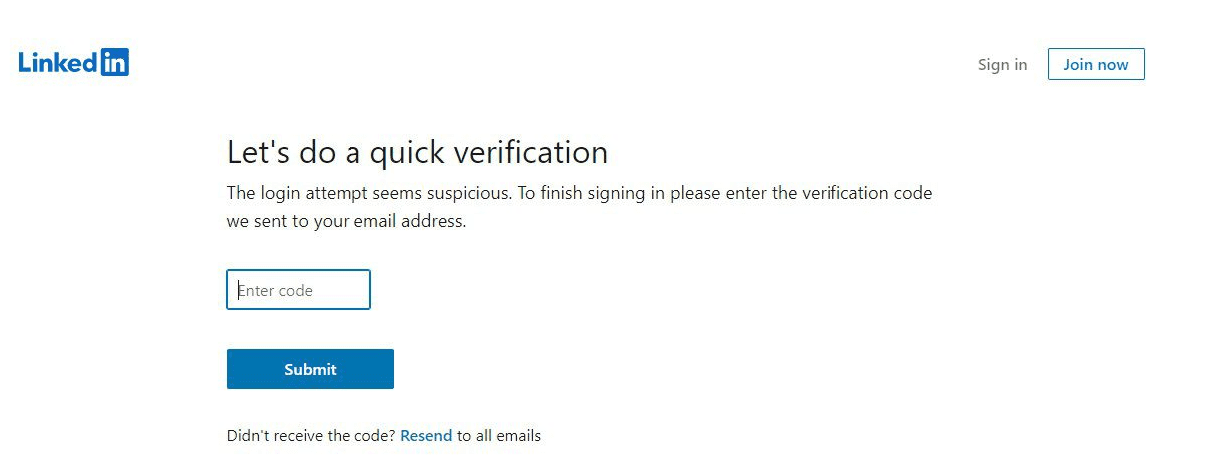
You need to take the code from email or phone number that you used to create LinkedIn accounts, the software will allow manual control to enter the code
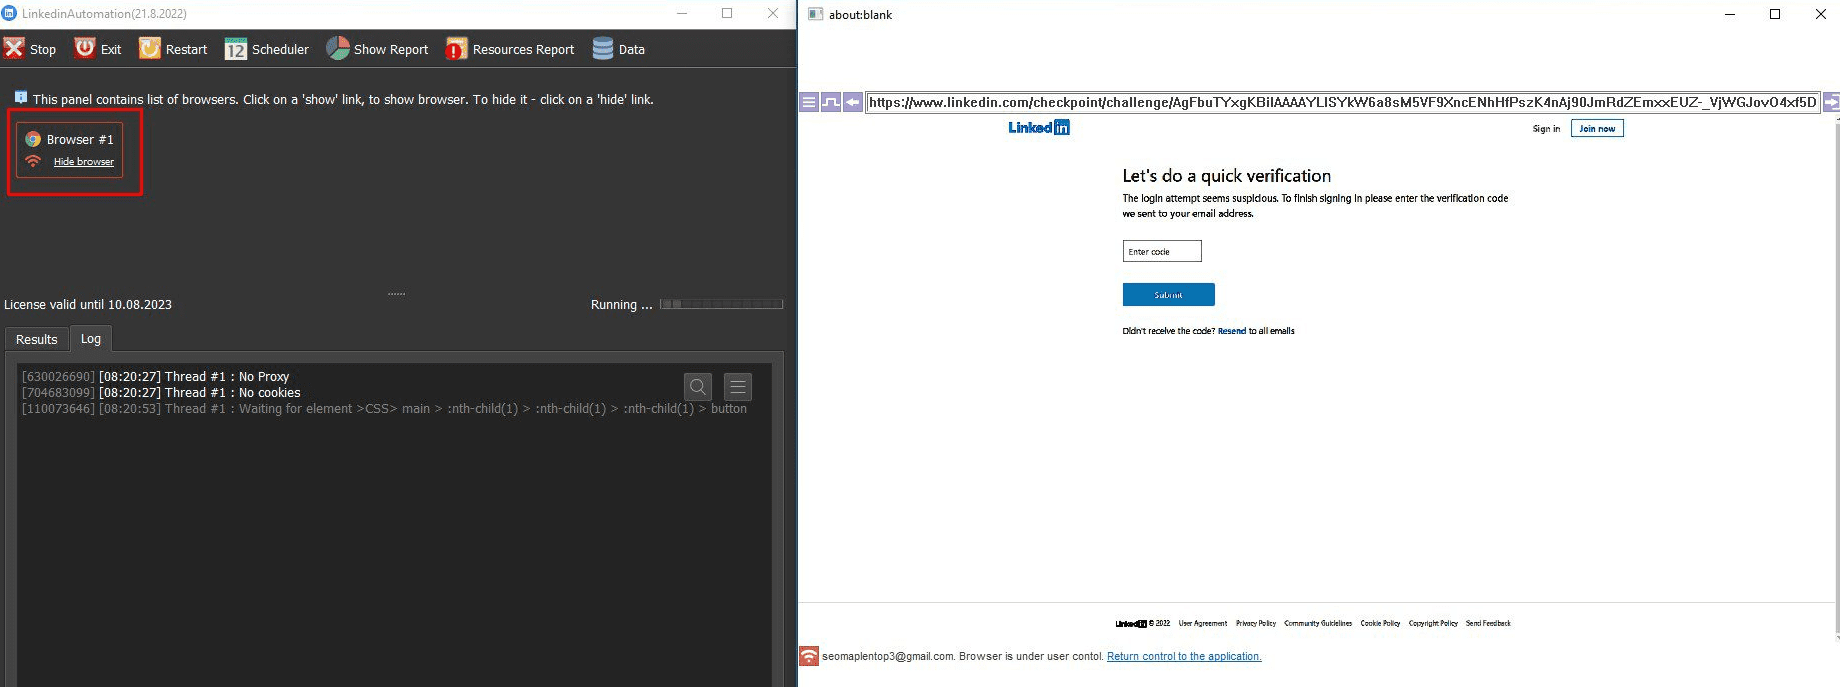
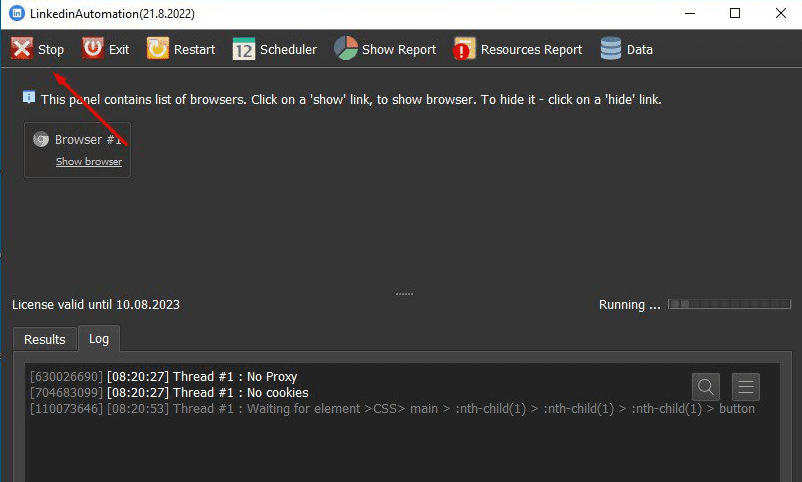
Next, you wait for the software to login the LinkedIn account successfully => click on X or Return control to the application
Then, click on Stop => click OK => click Restart to restart the software
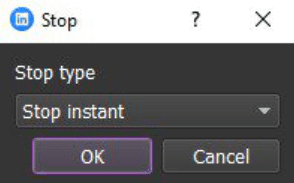

Finally, you click OK in the interface of the software to run again, the software will run the function that you selected after logging into LinkedIn accounts successfully.
B1. Check Accounts
At Action section, you select Check Accounts
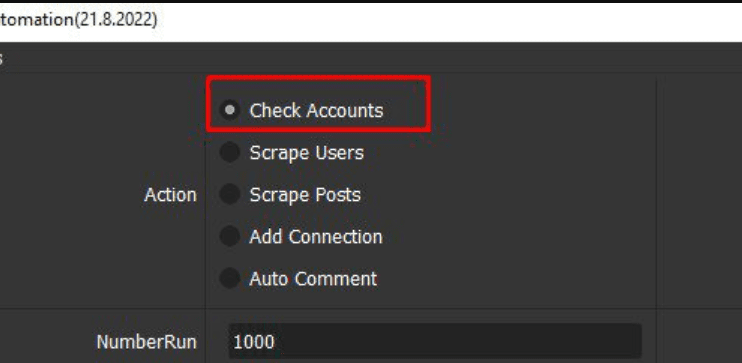
Next, check all sections in Part A
Finally, click OK
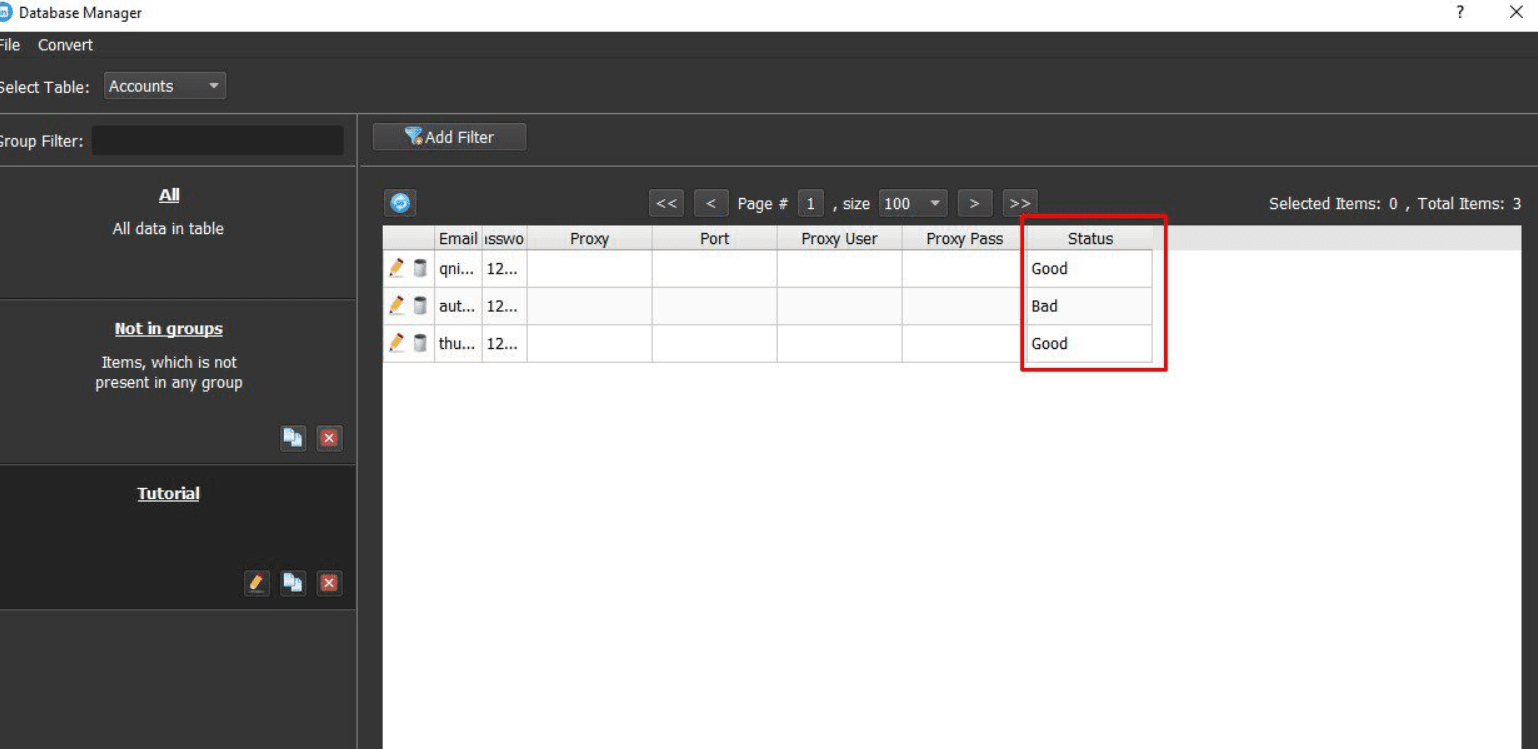
The status of accounts checking will be shown automatically in the Database Manager dialog box. You can see Good or Bad in Status column.
B2. Scrape Users
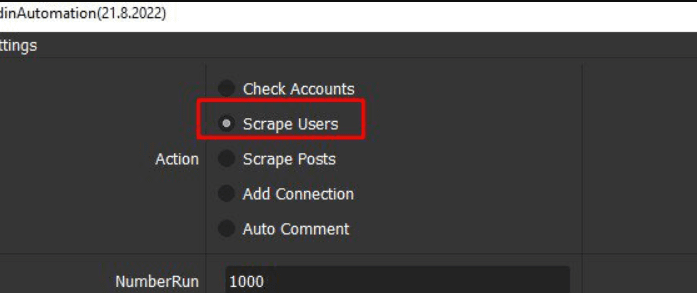
At Action section, you select Scrape Users
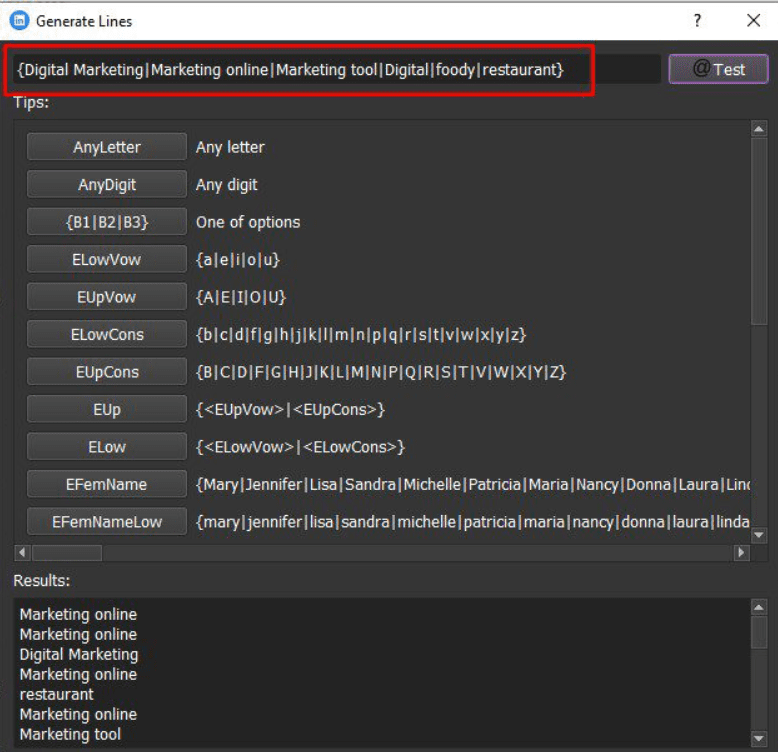
Next, you click on  at Search Term to import keywords. The software will search keywords on LinkedIn and scrape users.

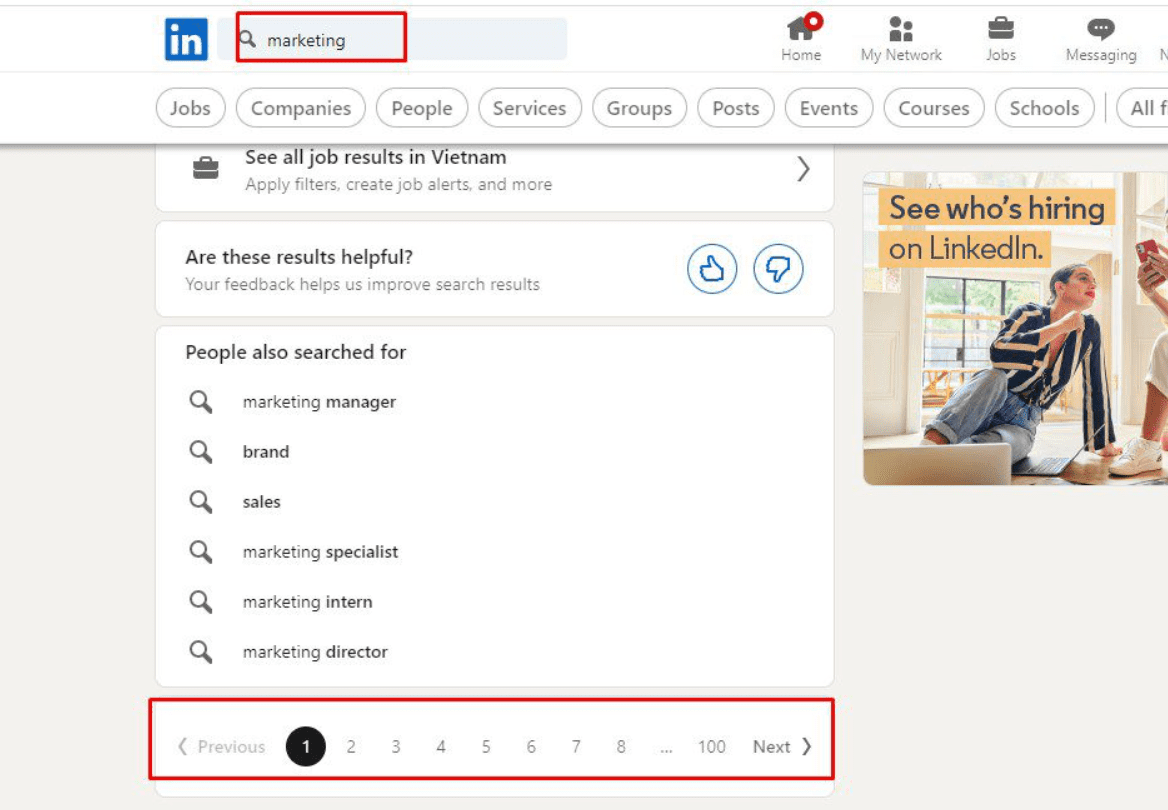
Then, you need to enter the number of pages that you want the software to search for keywords on LinkedIn at Scrape Limit (Pages) section.

For example, if you set Scrape Limit (Pages) at 10 and set Marketing at Search Term, the software will search for “Marketing” on LinkedIn, then scrape users from the first page to the 10th page.
Next, check all sections in Part A
Finally, click OK
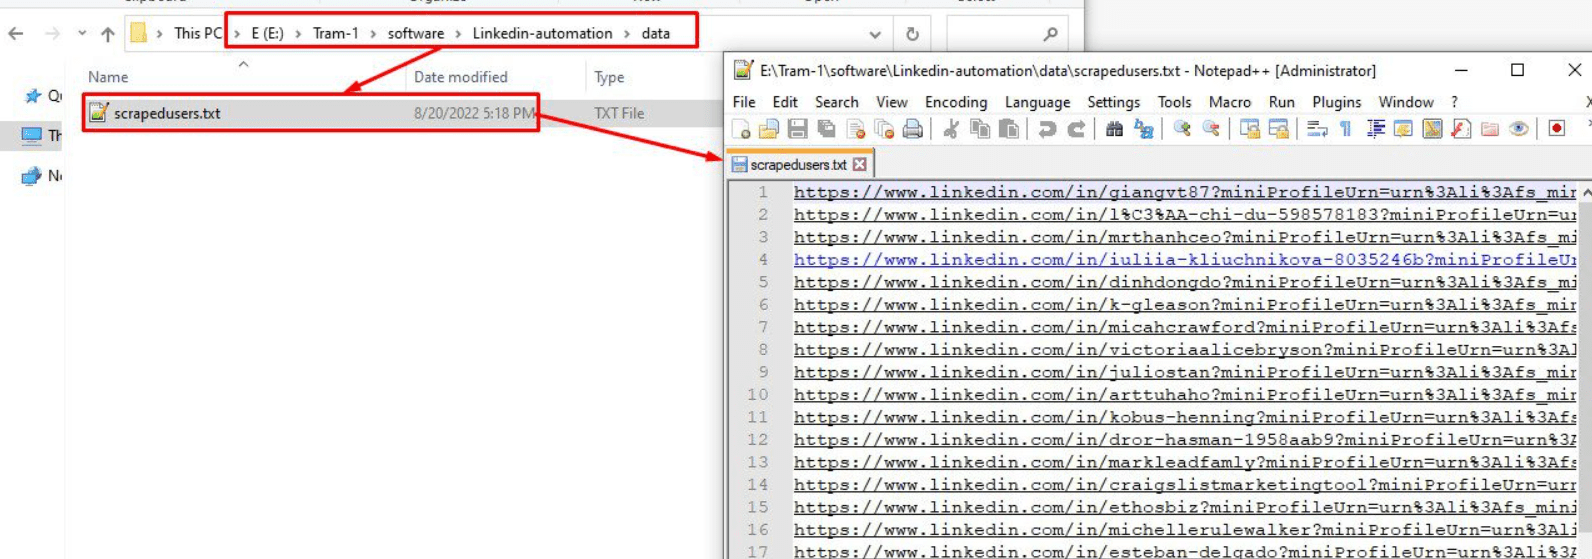
The result will be saved automatically in Data Folder (which had been created in A6. Folder Cookies & Folder Data section). The software will create a text file named scrapedusers.txt to save all scraped users.
B3. Scrape Posts
At Action section, you select Scrape Posts
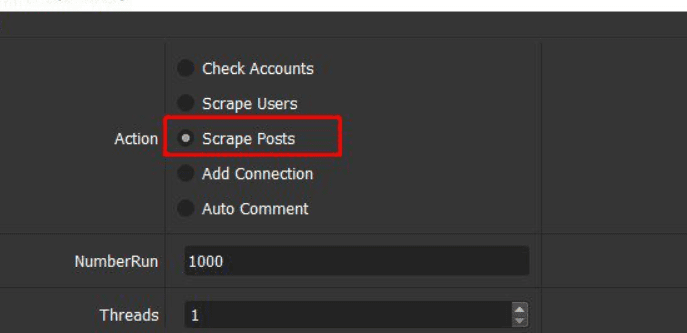
Next, you need to set up the Search Term and Scrape Limit (Pages) sections as specified in B2. Scrape Users.
Then, check all sections in Part A
Finally, click OK
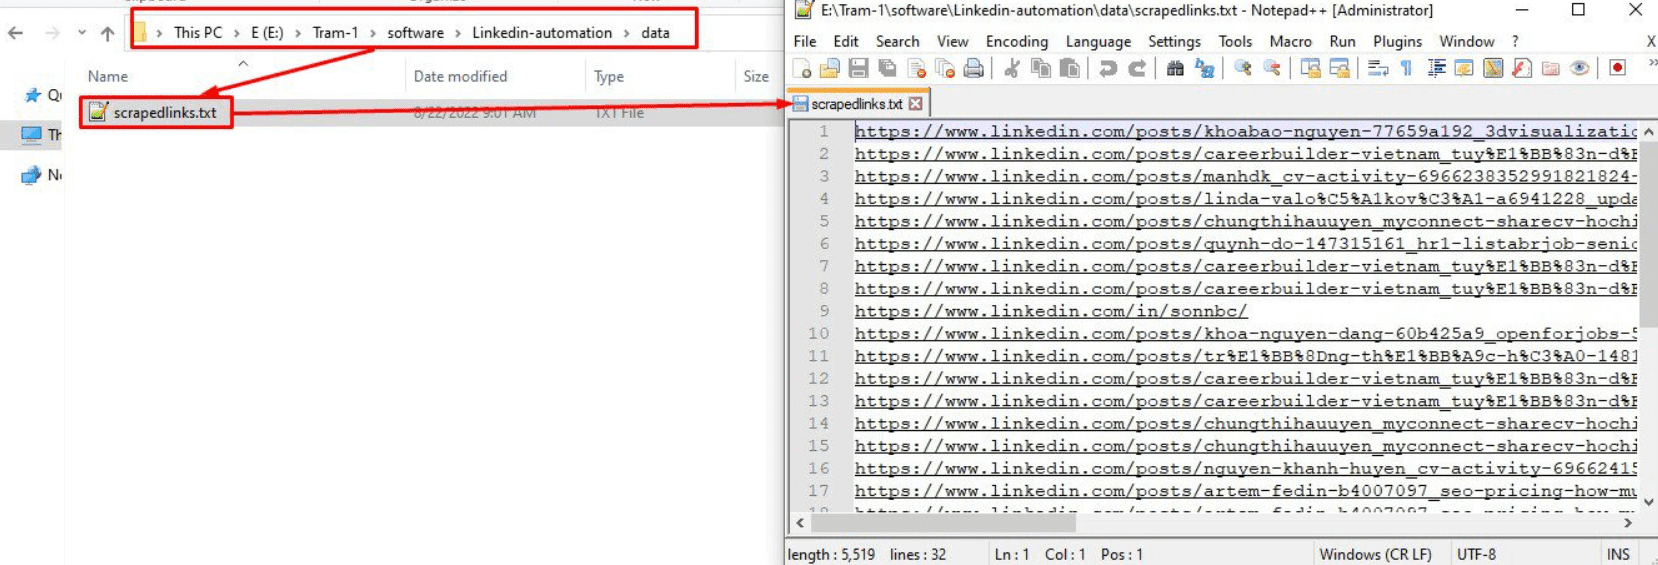
The result of scraped posts will be saved automatically in Data Folder (which had been created in A6. Folder Cookies & Folder Data section). The software will create a text file named scrapedlinks.txt to save all scraped posts.
[thrive_leads id=’8342′]
B4. Add Connection
At Action section, you select Add Comment
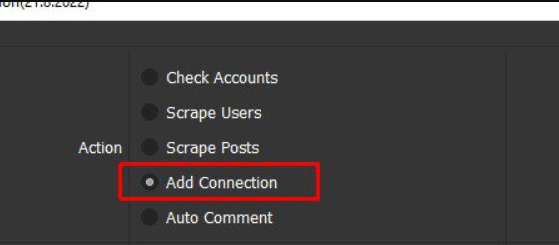
Next, you create a text file to save links of users that you want to connect. You can run Scrape Users function then take the result to use as a user list at this section.

Then, at User List section, you click on  => select the text file of users which has just been created.

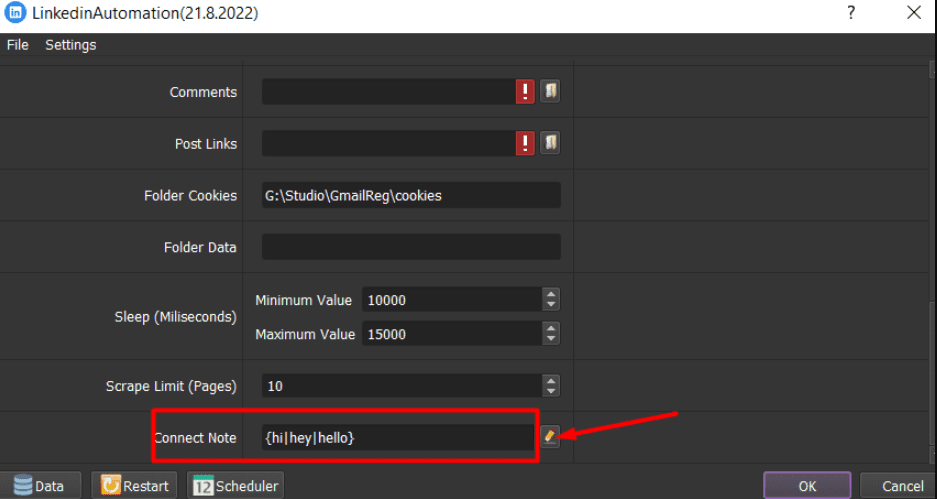
To connect users on LinkedIn, you need to send content as a note to them. Therefore, you click on  in the Connect Note section to enter the content that you want to users.
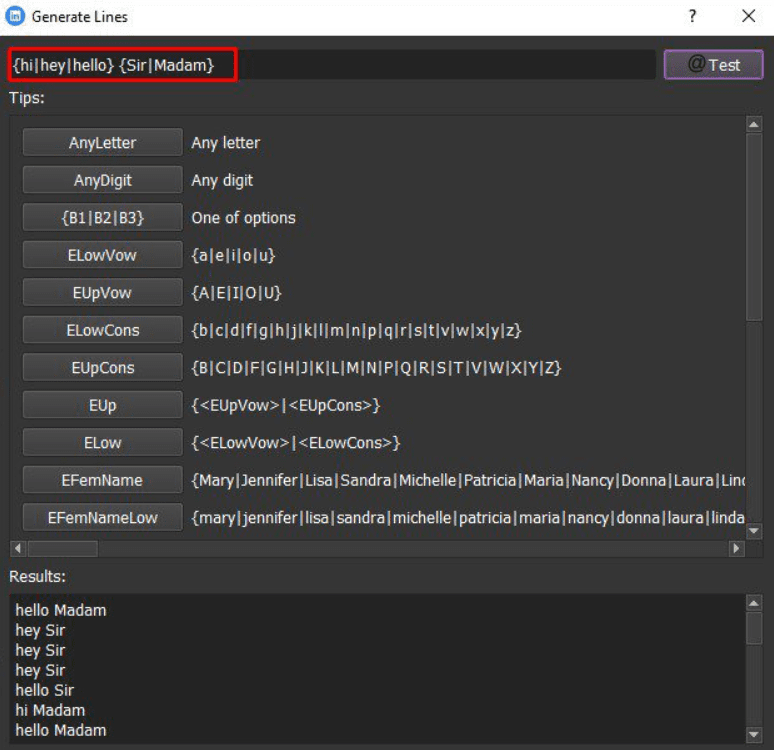
Then, check all sections in Part A
Finally, click OK
B5. Auto Comment
At Action section, you select Auto Comment
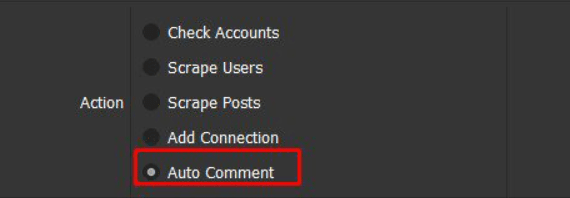
Next, create a text file to save links of LinkedIn posts that you want the software to comment => click on  in the Post Links section => select the text file of posts created.
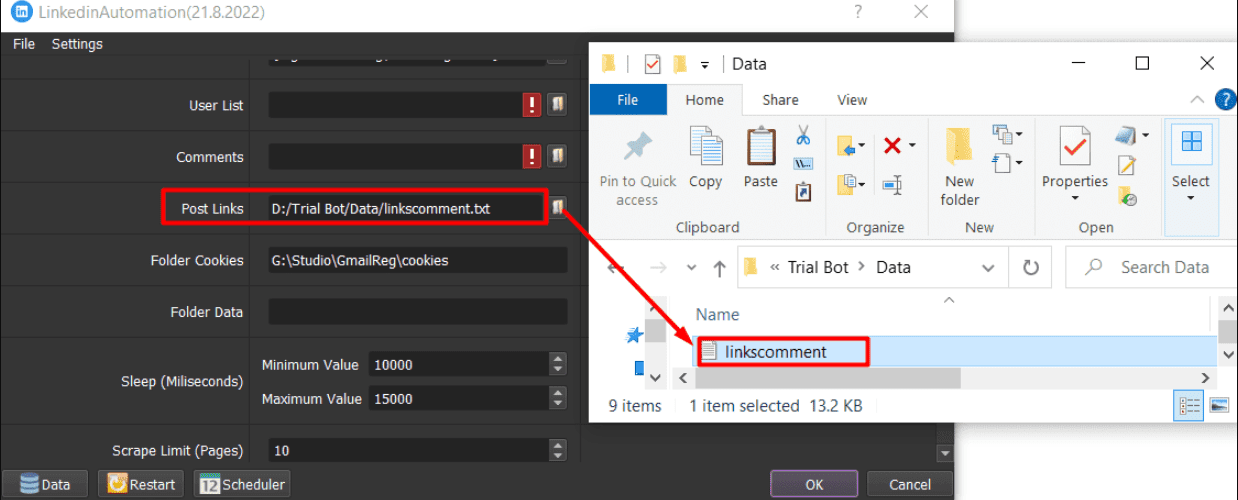
Then, create a text file to save content of comment that you want the software to comment => on  in the Comments section => select the text file of comments created.

Note: You enter content per line.
Then, check all sections in Part A
Finally, click OK
Thank you for following this tutorial, we hope it will be useful for you.
PRICE OF LINKEDIN AUTO CONNECT TOOL
For more details, kindly contact us at Autobotsoft – Top Marketing Software

